Electricity can seem complicated at first—but when you break it down into smaller concepts and pair them with real-world examples, it becomes something you can truly understand and apply. At AutoEDU, we specialize in turning complex systems into hands-on learning opportunities. In this post, we’ll guide you through the basics of electricity in a way that’s practical, visual, and simple to grasp.
Why Electricity Matters in Automotive Training
Whether you’re starting your career in auto repair or diving into hybrid and EV systems, understanding electricity is non-negotiable. Every modern vehicle relies on electrical energy—not just for starting or lighting, but also for powering sensors, computers, fuel injection, infotainment systems, and more.
Electricity is a form of energy that powers systems by converting into:
-
Light (bulbs, indicators)
-
Heat (defrosters, resistors)
-
Motion (motors, actuators)
-
Magnetic fields (relays, solenoids)
Understanding electricity is key to troubleshooting issues, safely working on high-voltage systems, and becoming confident with advanced diagnostic tools. At AutoEDU, we want students not just to know that electricity works, but to understand how and why it works the way it does.
How Electricity Works: Atoms and Electrons
To understand electricity, you have to zoom in—way in—down to the atomic level.
All matter is made of atoms, and atoms are made of:
-
A nucleus (protons with positive charge and neutrons with no charge)
-
Electrons (negatively charged particles orbiting the nucleus)
The electrons in the outermost layer, called the valence shell, determine how easily an atom gives up or holds onto its electrons. The Bohr model shows electrons orbiting like planets around a sun. While simplified, this model helps students visualize how electrons can move between atoms.
Electricity is the movement of these free electrons from one atom to another. When enough atoms allow this kind of flow, we have a material that conducts electricity.
Free Electrons and Conductivity
Atoms with 1 to 3 electrons in their outer shell tend to lose those electrons easily. These free-moving electrons are what allow a material to conduct electricity. Materials made of these types of atoms are called conductors. Examples:
-
Copper
-
Aluminum
-
Silver
-
Gold
On the flip side, atoms with 5 or more valence electrons hold onto them tightly. These atoms don’t allow electrons to move freely and therefore act as insulators. Examples:
-
Rubber
-
Glass
-
Plastic
In between these extremes, there are semiconductors, like silicon, used in computer chips and sensors, which can conduct under the right conditions.
Understanding conductivity is critical for knowing which materials can safely carry electricity and which can safely block it.
Visualizing Electricity: The “Rubber Band Effect”
Let’s use an analogy. Imagine stretching a rubber band. The more you stretch it, the more energy you store. When you let it go, it snaps back with force.
Electricity works in a similar way. When electrons are removed from atoms and forced to one side—say onto the negative terminal of a battery—they create an imbalance. That imbalance wants to resolve itself. Electrons want to return to the “holes” or empty spots they left behind. This natural pull is called voltage, or electrical potential.
The more electrons you displace (or the further you “stretch the band”), the more voltage you create. Once a pathway is available (like a wire), the electrons rush back to restore balance—just like the rubber band snapping back to its original shape.
Electrical Current: Flowing Electrons
Now that we’ve built up voltage, we can talk about current. Electrical current is the flow of electrons through a conductor. It’s like water flowing through a hose, except it’s electrons flowing through copper wire.
There are two important factors in current:
1. How Many Electrons Move
This refers to the quantity of electrons passing through a given point in the circuit per second. Current is measured in amperes (A). One ampere equals 6.24 × 10¹⁸ electrons flowing past a single point every second. That’s a huge number—and it shows how small and fast electrons are.
2. How Fast They’re Moving
The speed at which electrons move depends on the voltage, or the “pressure” behind the flow. The more voltage you apply, the faster the electrons move. Just like higher water pressure causes faster flow in a hose, higher voltage causes more current flow through a circuit.
From Negative to Positive: Understanding Electron Flow
Electrons have a negative charge, and like charges repel each other. This is why electrons naturally move away from negative areas (high concentration of electrons) and head toward positive areas (which have fewer electrons or “holes”).
So in a DC (direct current) system like a battery:
-
The negative terminal is where excess electrons are stored.
-
The positive terminal is missing electrons.
-
When a wire connects both terminals, electrons flow from negative to positive, filling in the empty spaces and generating current.
This flow continues until balance is restored or the power source is disconnected.
Why Relating Theory to Real Demonstrations Matters
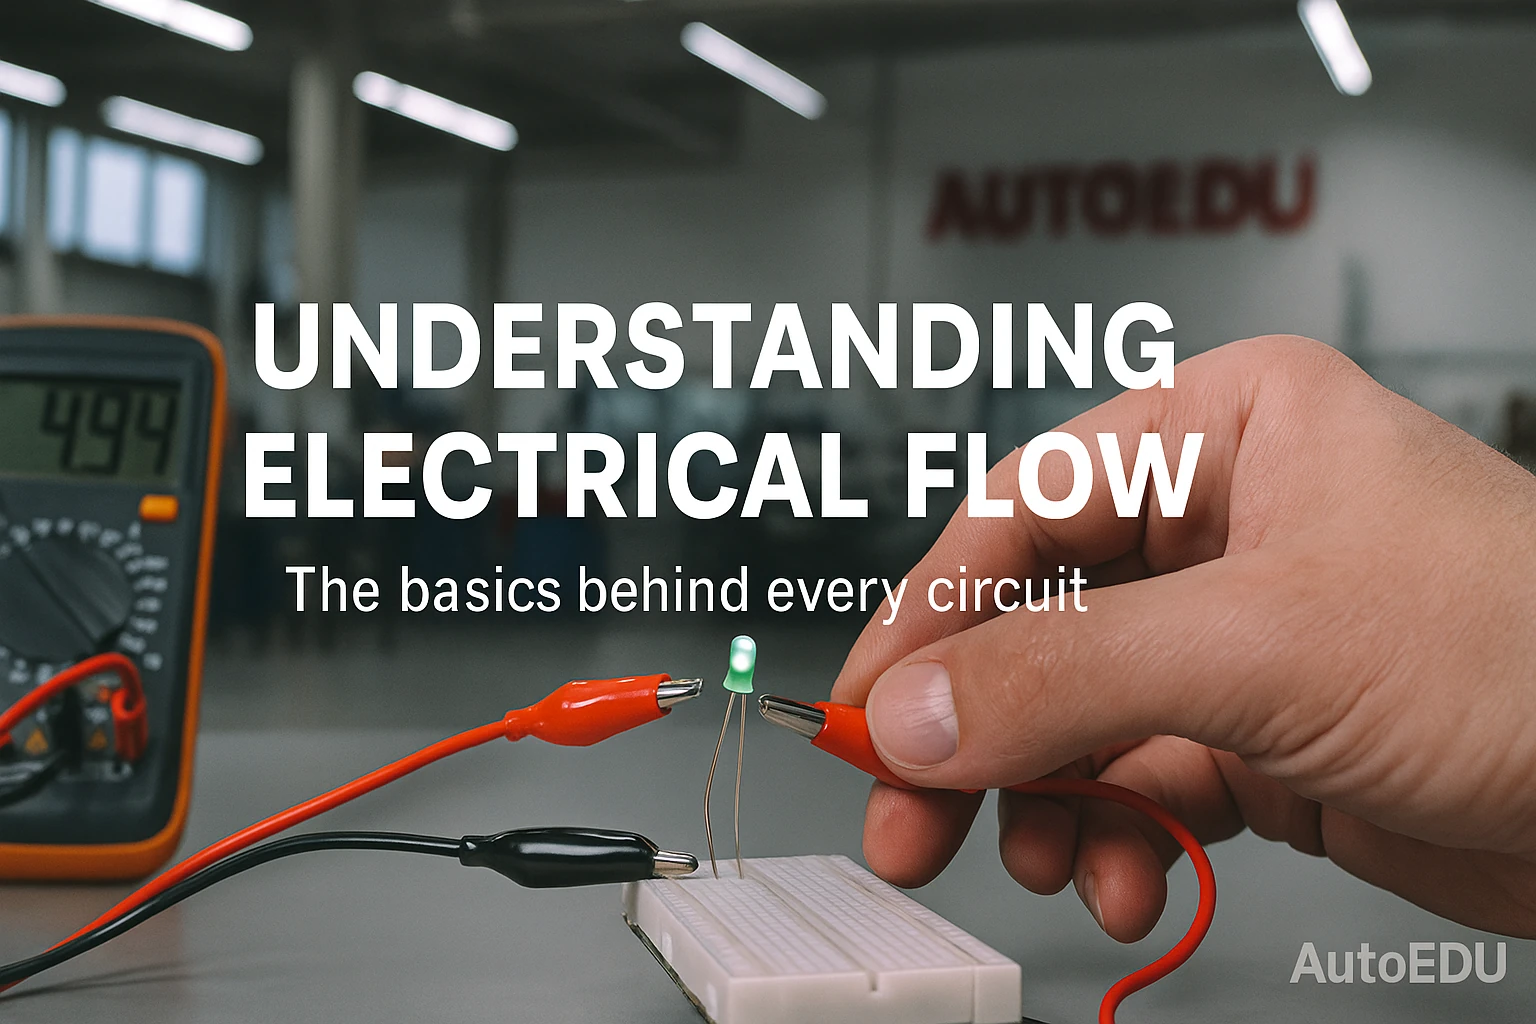
Knowing the theory is important—but it’s not enough. At AutoEDU, we believe in learning by doing. That means setting up real circuits, using DVOMs, lighting LEDs, and testing voltages. Why?
Because students need to:
-
See how electricity flows.
-
Measure current and voltage safely.
-
Connect concepts like “voltage” and “resistance” to real results.
-
Understand why things fail—like what happens if a conductor breaks, or if resistance is too high.
The point is to make electricity less of a mystery and more of a practical tool. When students can relate the invisible world of electrons to real-world systems, they build the confidence to diagnose and repair complex electrical systems.
Understanding electricity doesn’t have to be hard. Start with atoms. Understand electron flow. Visualize voltage like stretching a rubber band. Build circuits. Measure what happens. And most importantly—relate it back to real vehicles.
At AutoEDU, we’re committed to making automotive electricity clear, safe, and useful for every student. Whether you’re new to the trade or just want to sharpen your skills, Part 1 of this series is your first step into the world of modern electrical systems.